Creating Internal Bookings (Reservations) that require payment.
Introduction
Internal bookings allow you to prepare transactions for customers. You can decide whether the transaction should be reserved, sending a payment link to the customer, or marked as completed and thus paid.
Internal Processes & Practical Tips
The Transaction, including the tickets, is only reserved. The Status changes to Complete only when the transaction is completed via a payment link. The payment link can be sent to the customer by email or viewed in the dashboard. You may wish to create internal processes around;
- Define how long the customer has to pay and clearly communicate this timeframe to them.
- For high-demand events, establish a process to cancel outstanding or unwanted internal bookings so tickets can be released and resold.
Differences using an Internal Booking vs Purchase Intents
- Both create a reservation that can be completed online via a payment link.
- Internal Bookings wont support additional rules such as expiration dates or required approvals.
- An internal booking creates the transaction immediately, whereas a purchase intent only generates a transaction once checkout is initiated via a payment link or POS sale.
- Internal bookings can support ticket reservations across multiple events (when multi-cart checkout is enabled), whereas a purchase intent can only be created for a single event.
Summary
This help guide and example will assist with creating an internal booking to reserve tickets for a customer requiring payment. Payment can be completed via a secure payment link, or the reservation can be held without sending a link.
Help Guide
- Click Transactions (via the Account Menu)
- Click Internal Booking (top right hand corner)
- Click Transaction Tab (not purchase intent)
- Click Search Customer to locate an existing customer, or click + Add Customer to create a new customer record. When adding a new customer;
- First Name, Last Name and E-mail are mandatory fields
- (Optionally) Toggle Create Account ON if a customer account is required^
- Click Select Event, and select required event or secret shop e.g. Box Office) from the drop down
- Select the desired Tickets
- Tip: Hold Shift or Ctrl to make multi-ticket selection
- (Optionally) Continue adding tickets from another event by repeating steps 5 & 6 above.
- (Optionally) Add a Promo Code or Redeem Voucher if you want to apply to the booking.
IMPORTANT: Once Ticket Selection is finalised - configure booking settings
- Select the Transaction status to RESERVED-BY-SYSTEM
- Toggle Send Confirmation ON / OFF as required (select ON to email the customer their reservation details and secure payment link, OFF if no e-mail is required)
- Review Order and Customer Details
- Click Create to complete
^If you choose to create a Customer Account, the customer must have a valid email address. An account invitation will be sent to the customer's email, and they will be required to create a password to activate their account.
How to Monitor Pending Internal Bookings
To monitor outstanding Internal Bookings
- Click Transactions module
- Optionally you can use the filter to refine your search results.

How to view the customers payment link in the dashboard
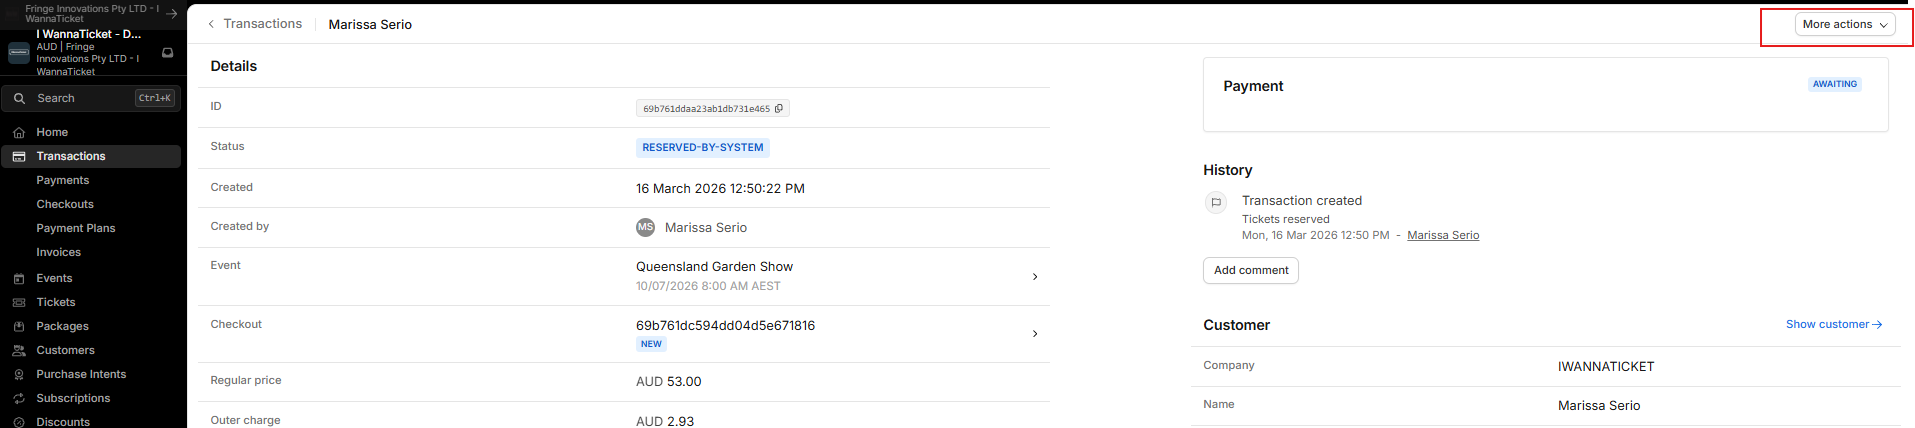
- Click Transactions module and open reservation
- Click More actions (top right hand corner)
- Click View in Browser
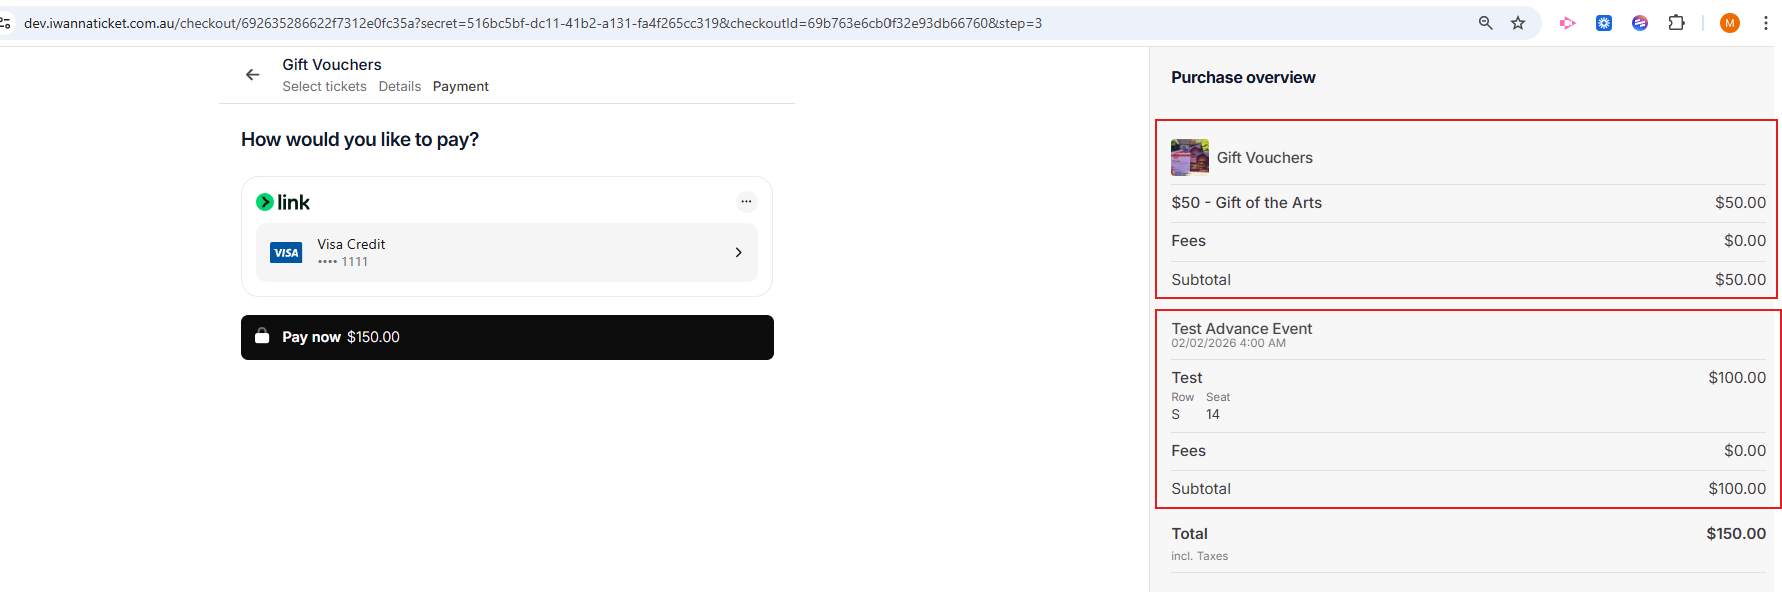
Customer Experience
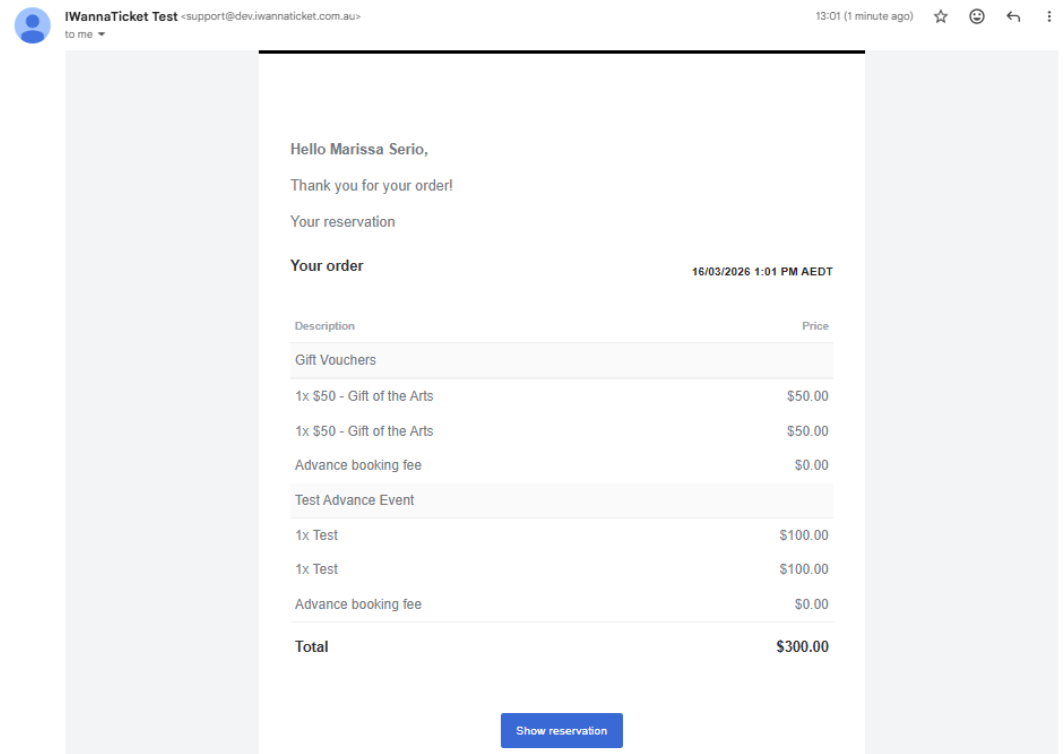
- If you have chosen to email the customer, below is an example of the default email that will be sent.
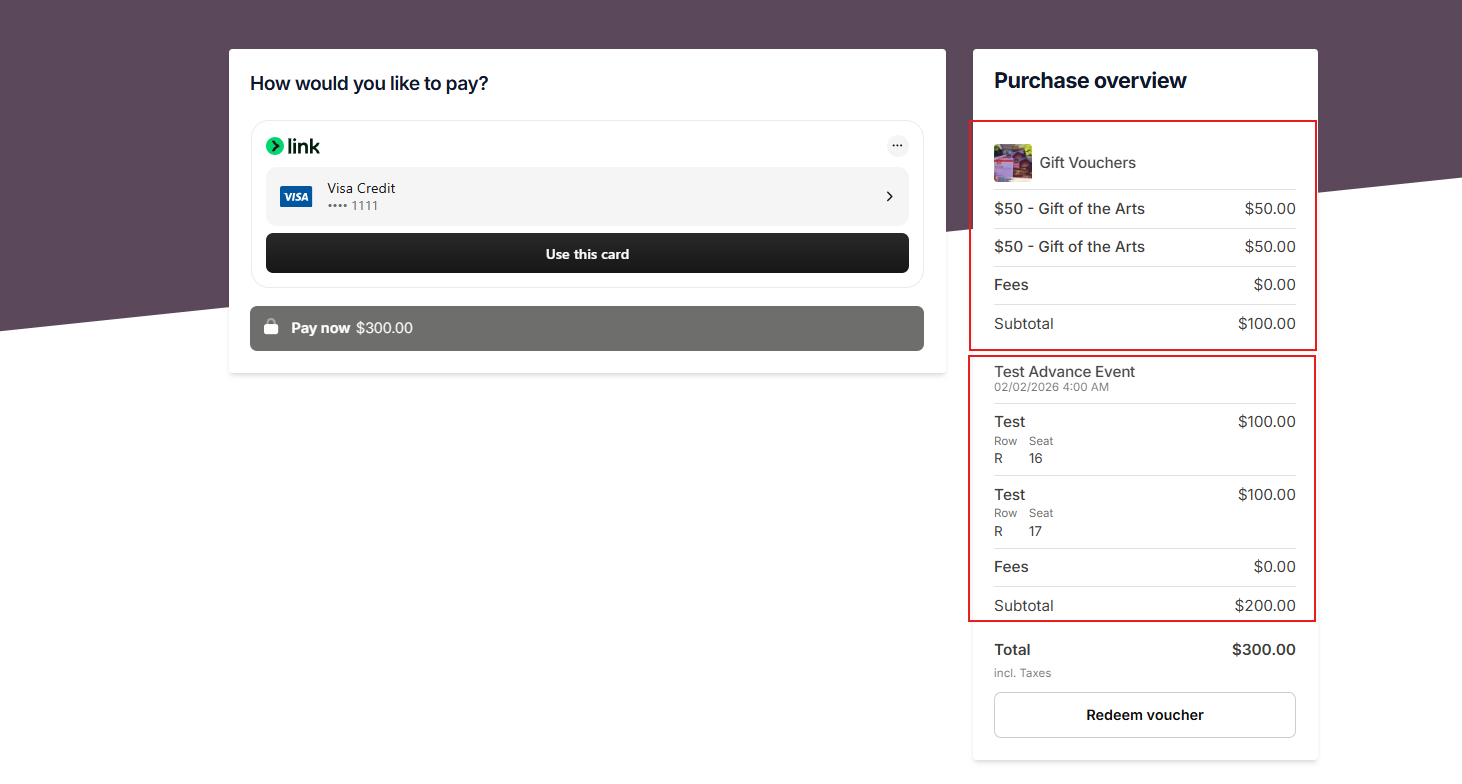
- Customers simply click Show Reservation to open the payment link
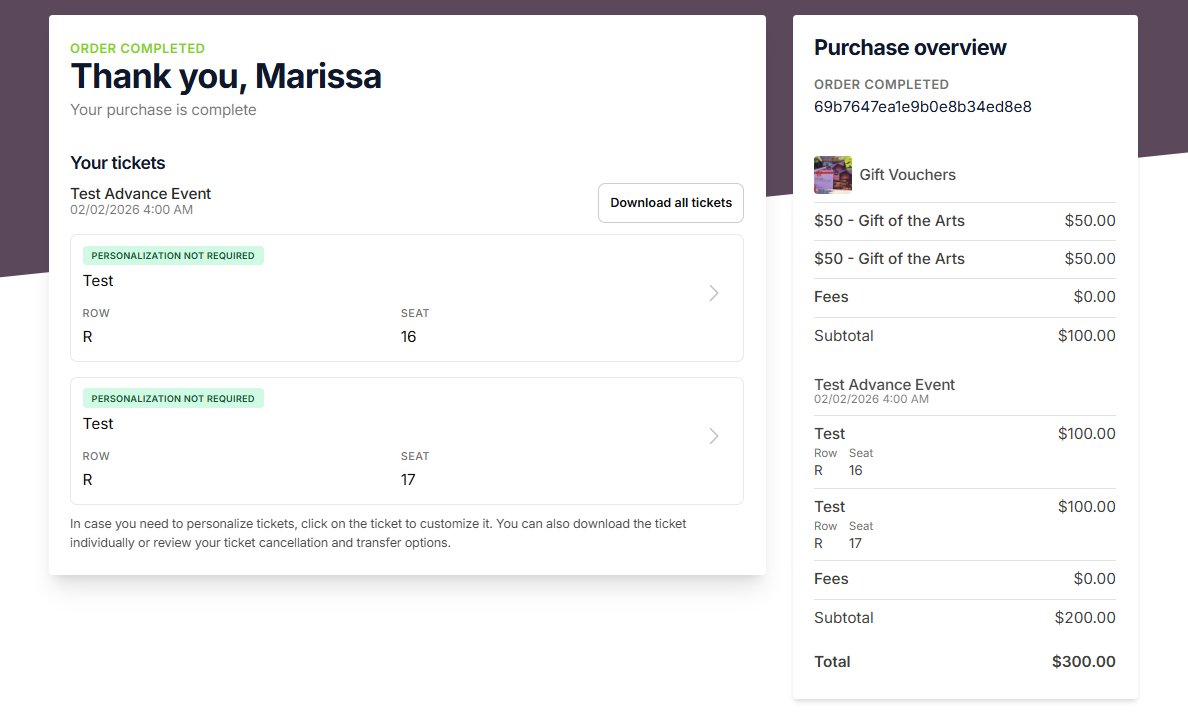
- Once payment is received, customers will get an order confirmation, and tickets will be sent separately.